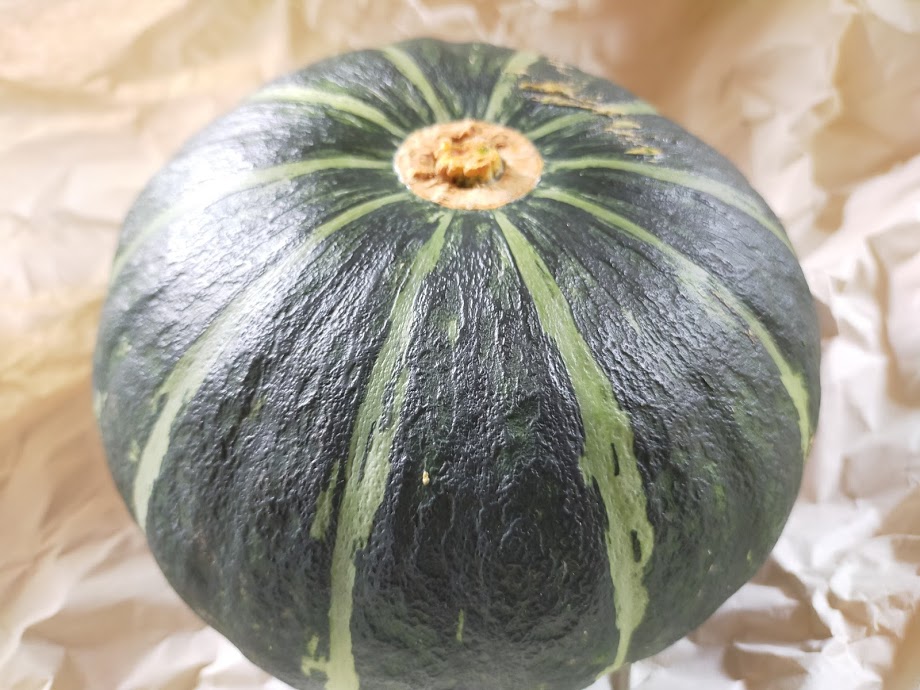
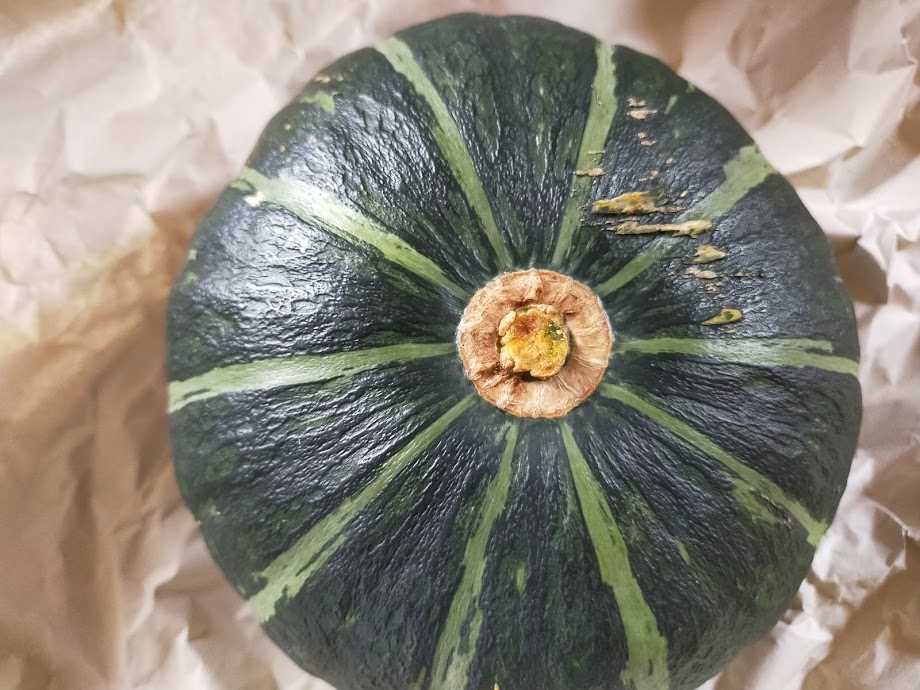
Process of Edosaki Squash Part 1 Seedlings is this article;
After seedling, I also helped to remove the first sprout. It was detailed work.
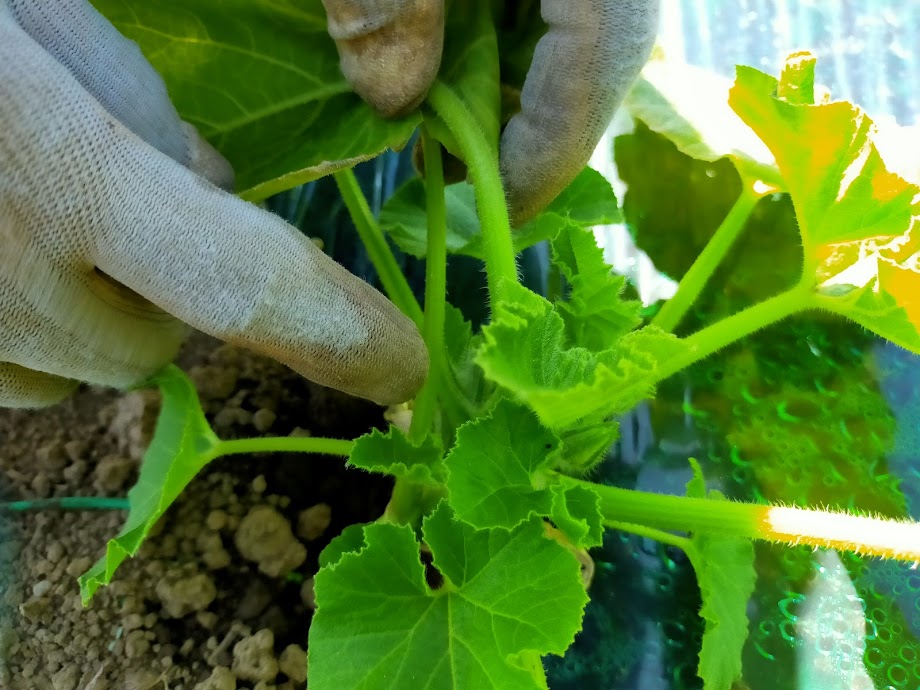
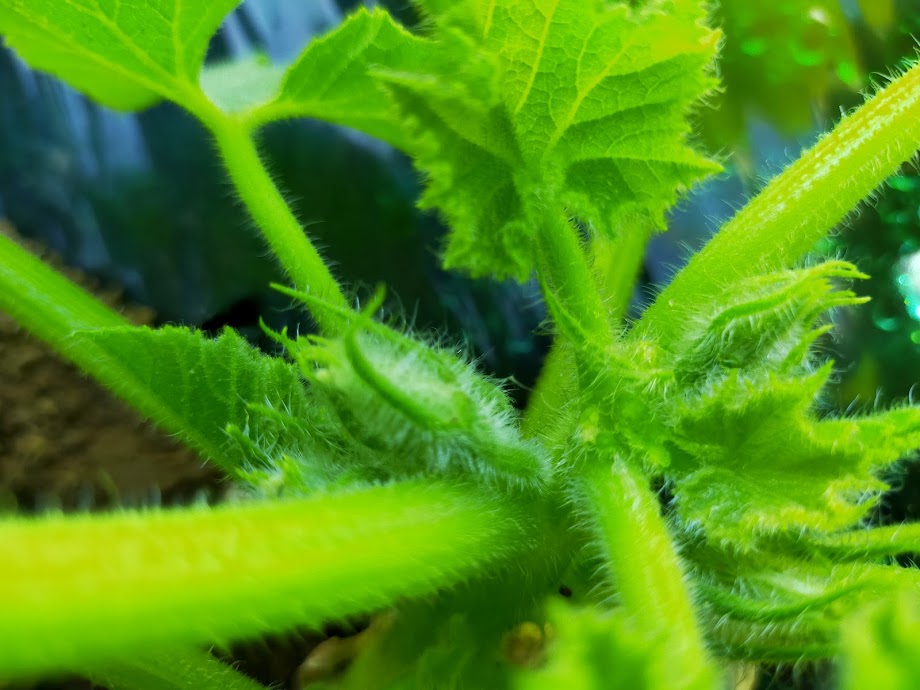
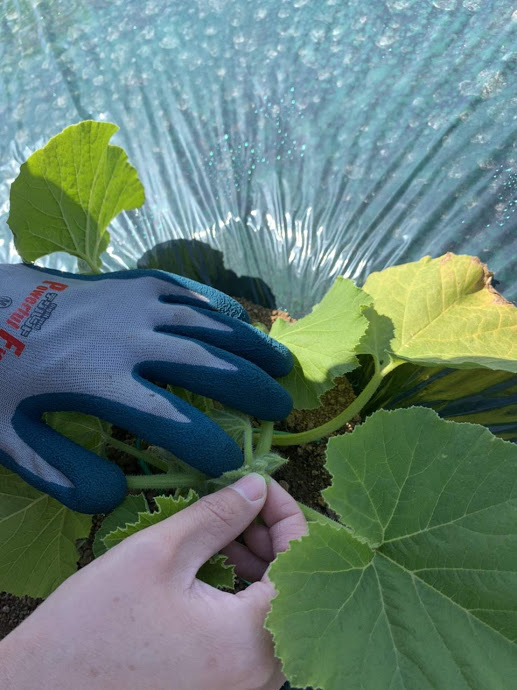
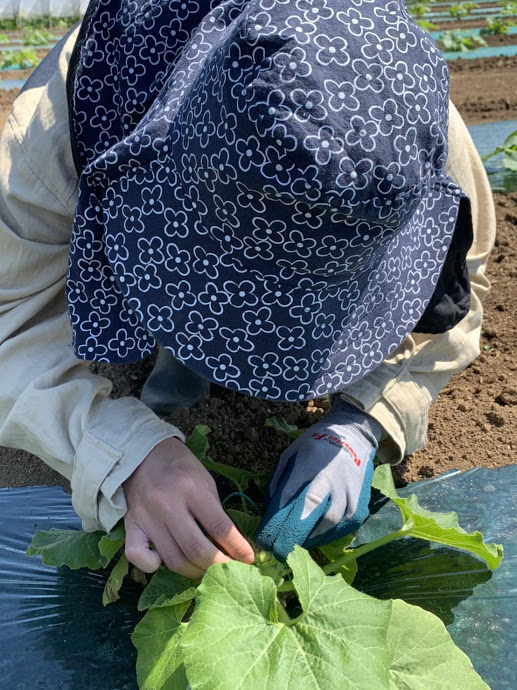
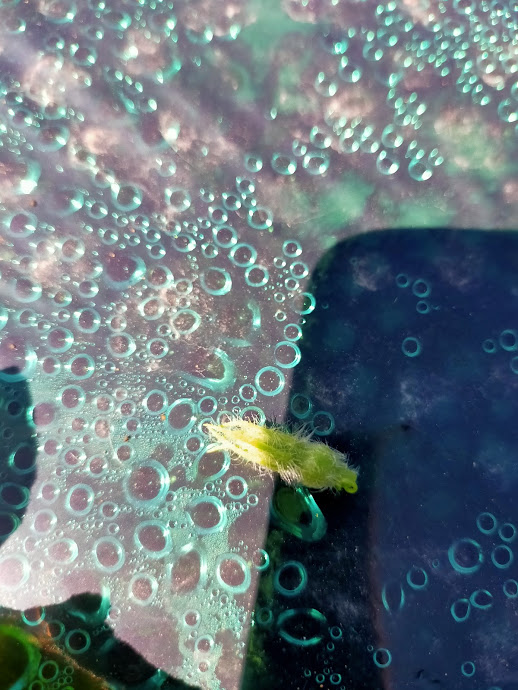
Manually each sprout and small fruit are removed.
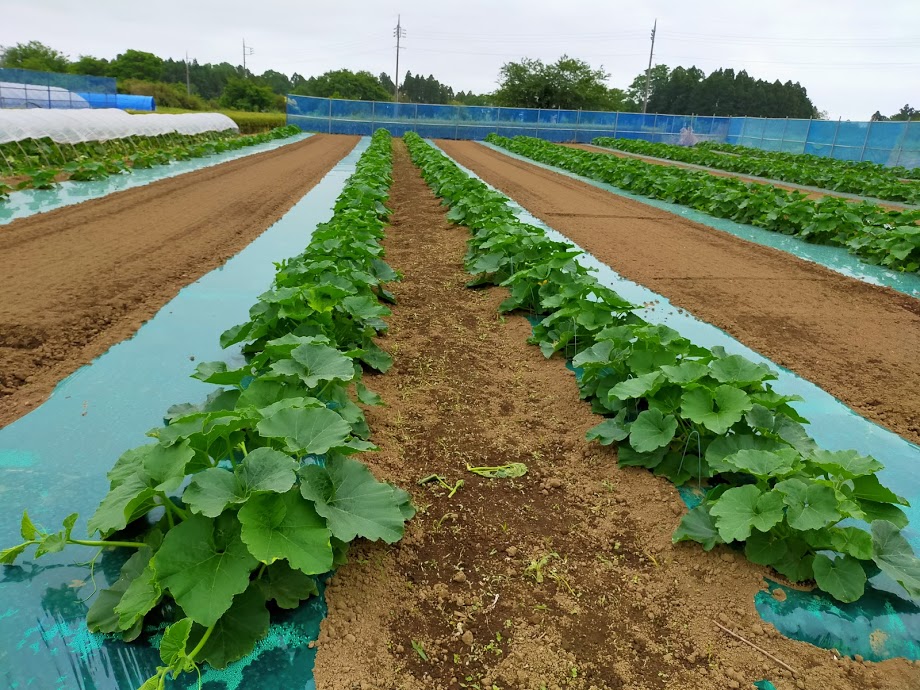
After 10 days, these seedling were getting bigger and bigger so it’s time to do another step.
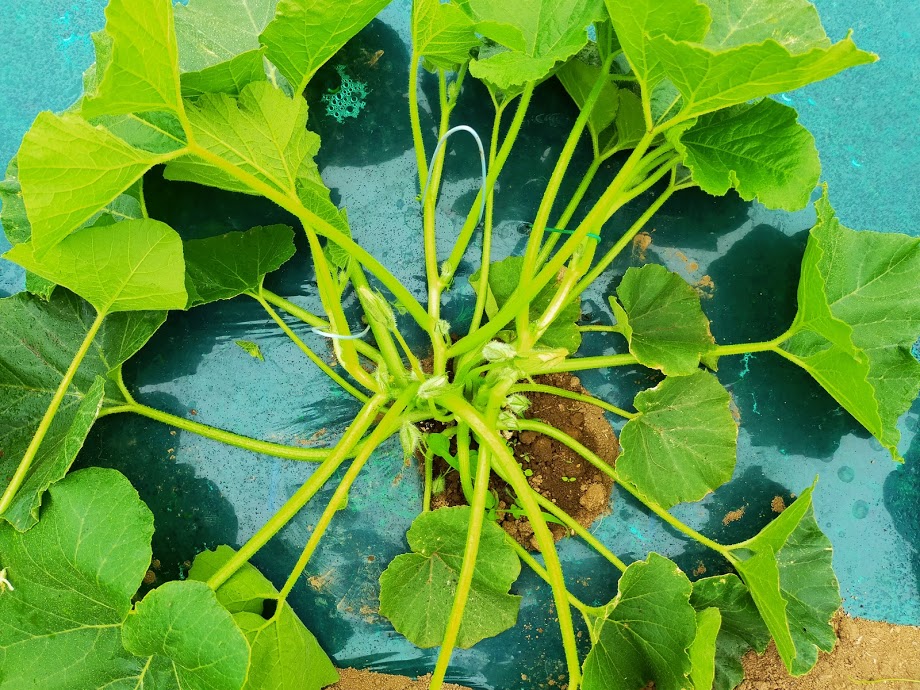
Next, choose 3 stems with sprouts and remove other ones.
Then hold them with U-shaped pin.
When growing squash in a greenhouse, you need to put pollen to female flowers. Some people use bees.
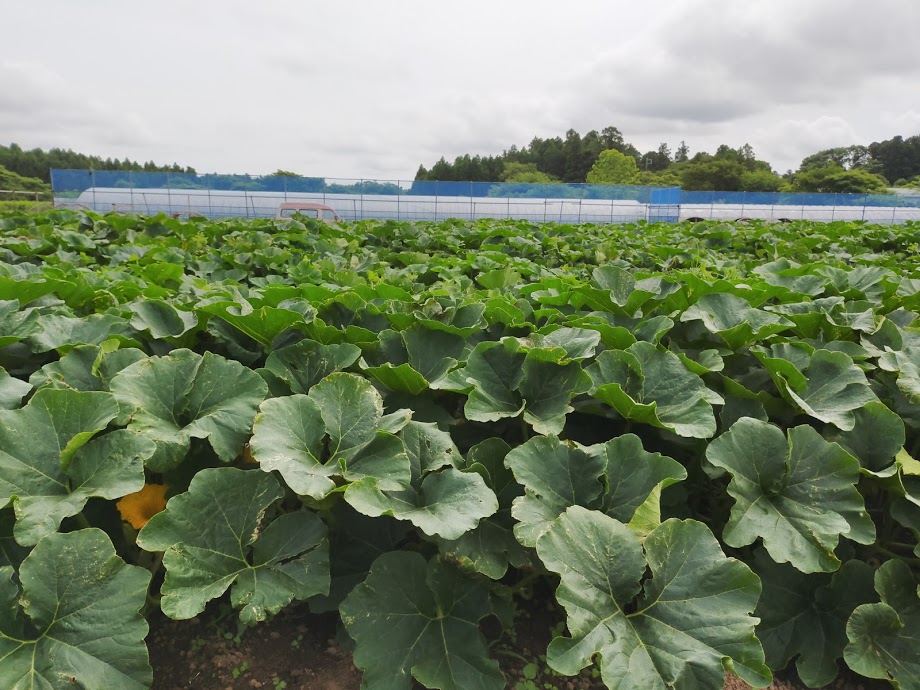
This farmer grow EDOSAKI Squash both ways; outside and inside of the green houses. I also tried to do.
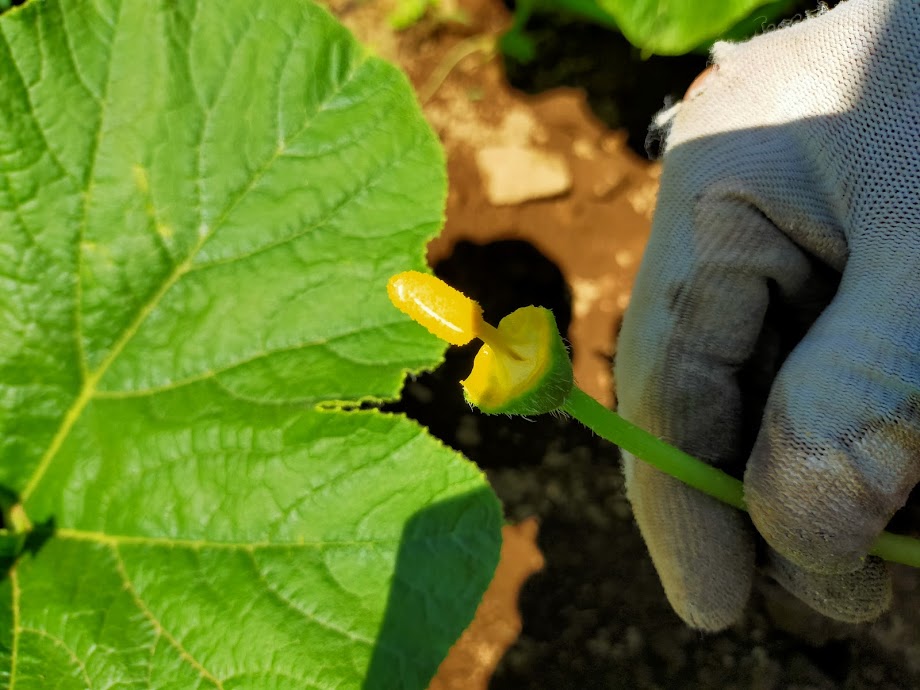
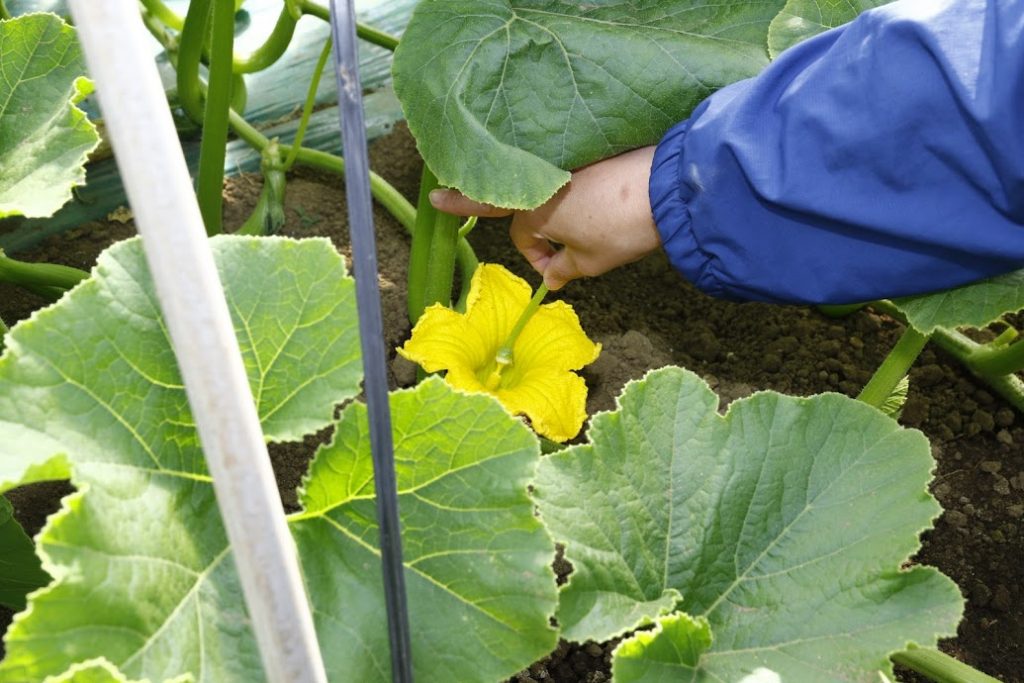
Roughly 3months after seedling, it’s time to harvest.
There were a lot of more things to do during the time, though.
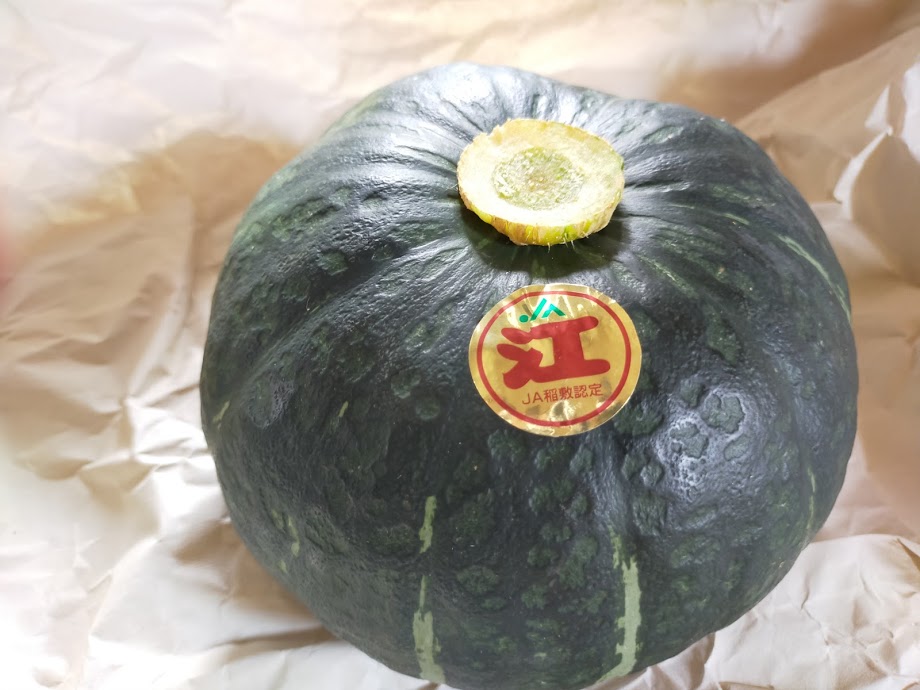
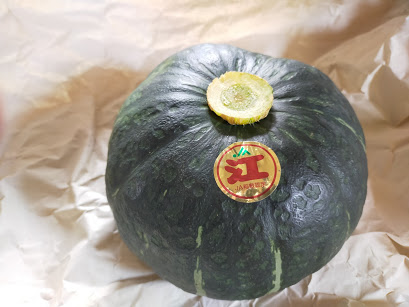
This golden sticker is the mark that this EDOSAKI Kabocha Squash is genuine. There are a lot of similar ones but genuine “EDOSAKI Kabocha Squash” is the only this.
