Process of Edosaki Squash Part 1 Seedlings is this article;
After seedling, I also helped to remove the first sprout. It was detailed work.
![](https://madam-fujiko.com/wp-content/uploads/2020/07/IMG20200508090902.jpg)
![](https://madam-fujiko.com/wp-content/uploads/2020/07/IMG20200508090938.jpg)
![](https://madam-fujiko.com/wp-content/uploads/2020/07/1588932349133.jpg)
![](https://madam-fujiko.com/wp-content/uploads/2020/07/1588932335319.jpg)
![](https://madam-fujiko.com/wp-content/uploads/2020/07/IMG20200508091435.jpg)
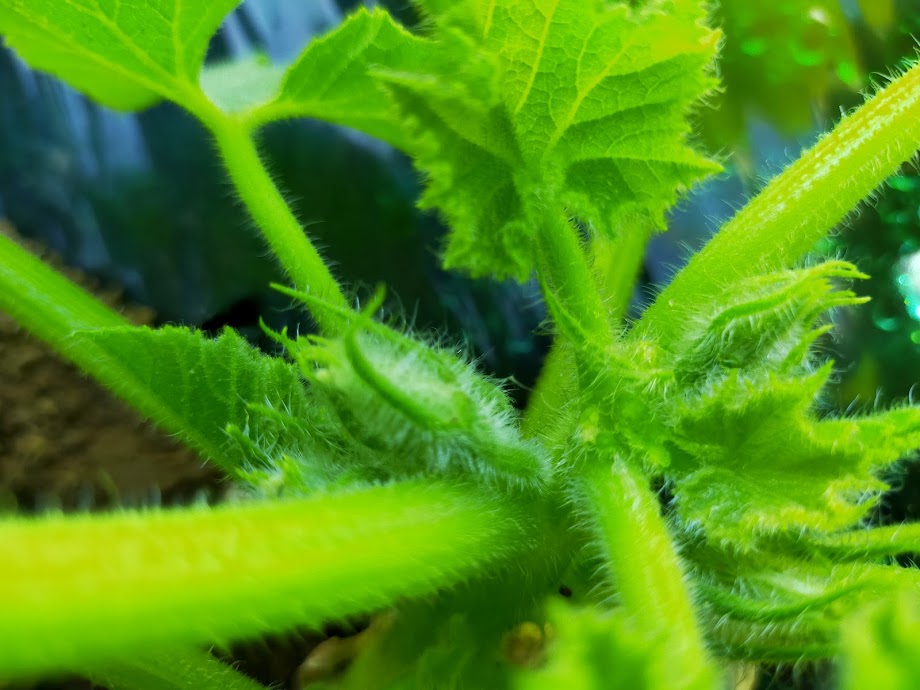
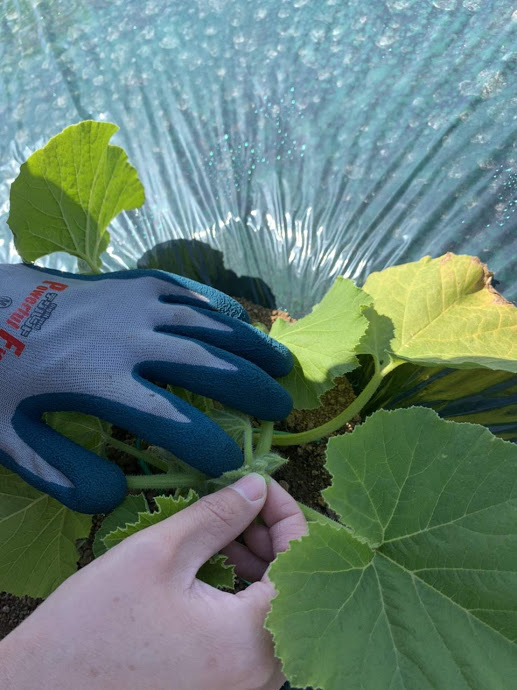
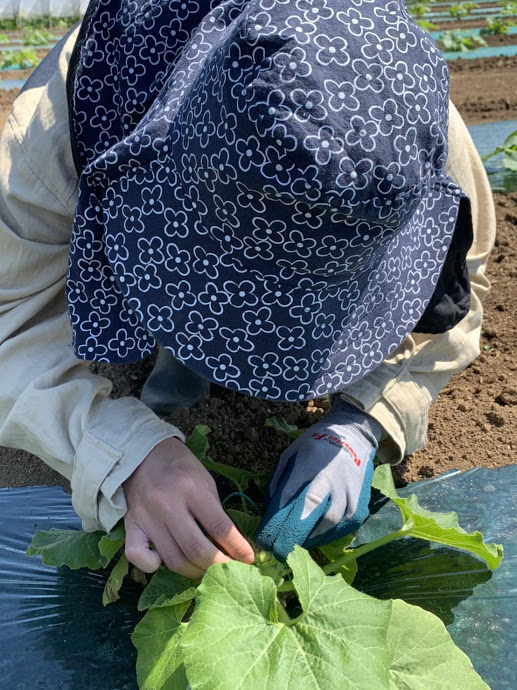
Manually each sprout and small fruit are removed.
![](https://madam-fujiko.com/wp-content/uploads/2020/07/IMG20200518131720.jpg)
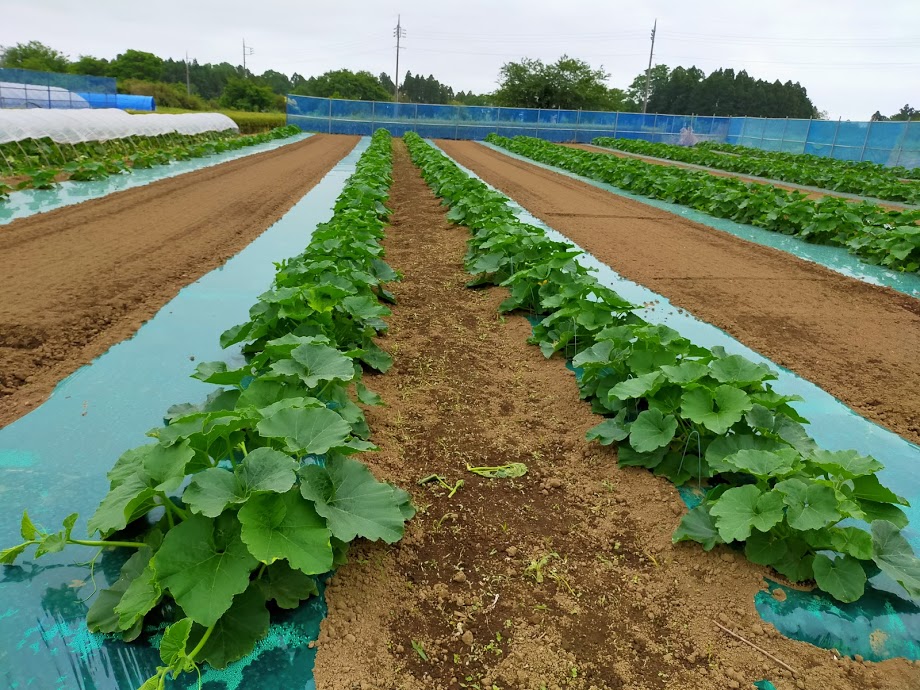
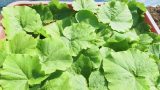
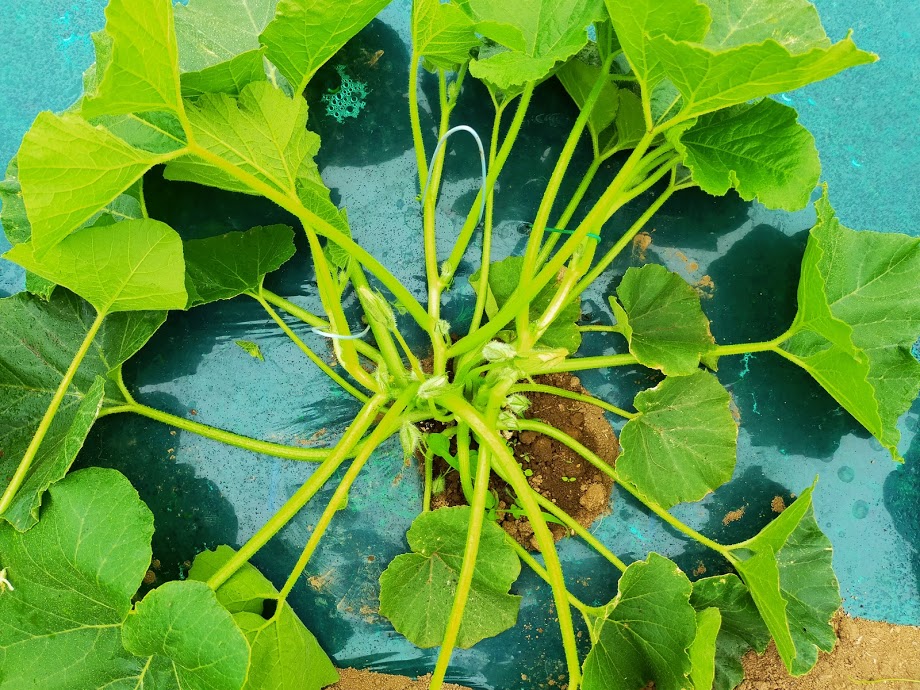
After 10 days, these seedling were getting bigger and bigger so it’s time to do another step.
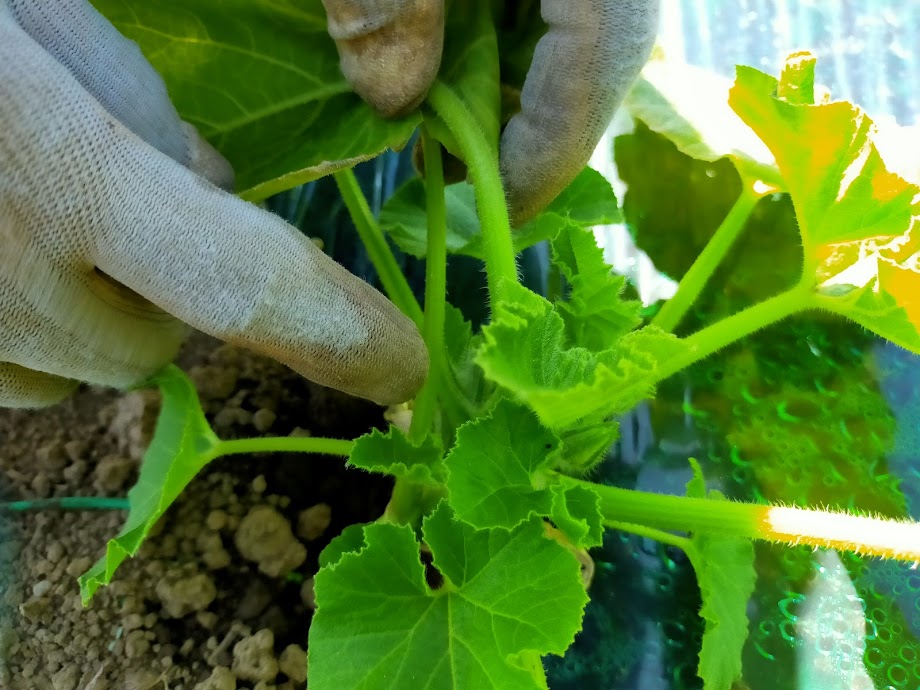
Next, choose 3 stems with sprouts and remove other ones.
Then hold them with U-shaped pin.
![](https://madam-fujiko.com/wp-content/uploads/2020/07/IMG20200518135100.jpg)
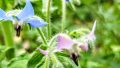
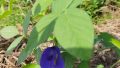
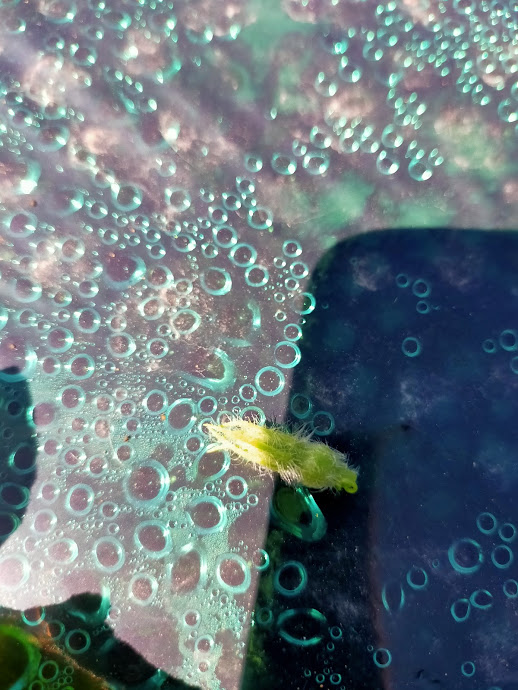
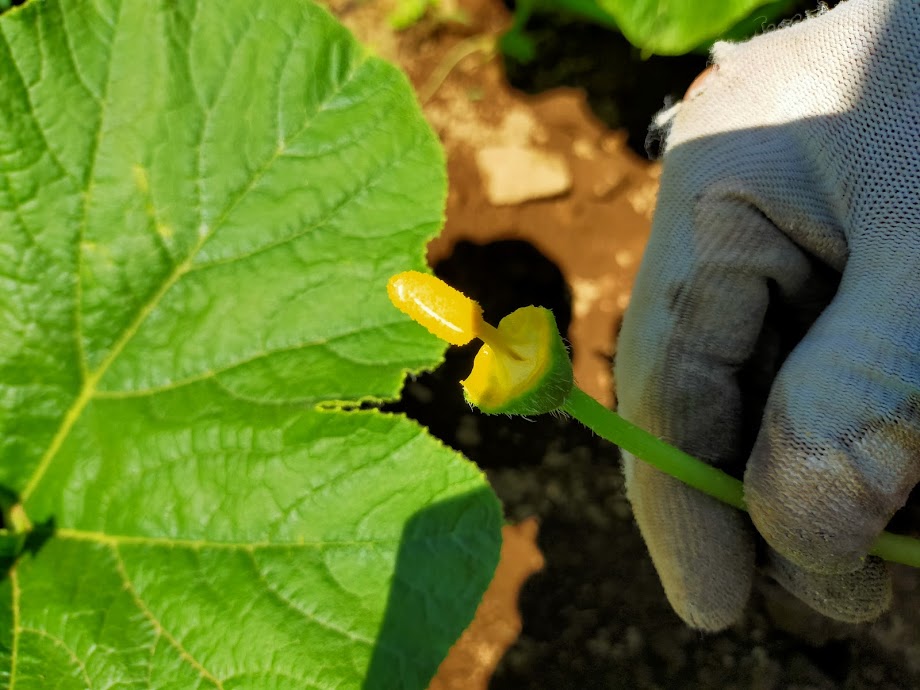
When growing squash in a greenhouse, you need to put pollen to female flowers. Some people use bees.
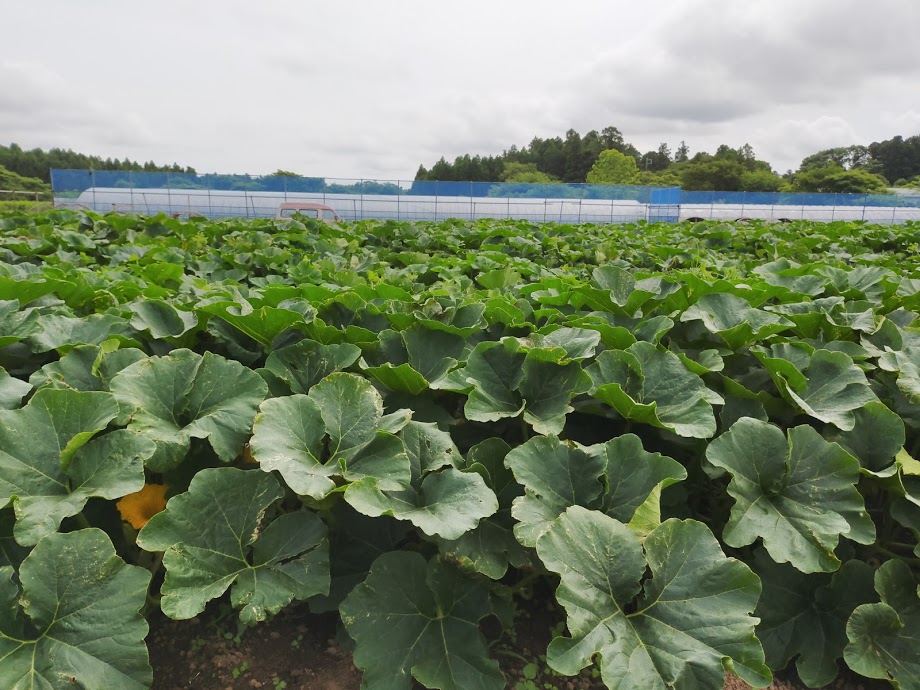
This farmer grow EDOSAKI Squash both ways; outside and inside of the green houses. I also tried to do.
![](https://madam-fujiko.com/wp-content/uploads/2020/07/IMG20200508090416.jpg)
![](https://madam-fujiko.com/wp-content/uploads/2020/07/N3A2020-1024x683.jpg)
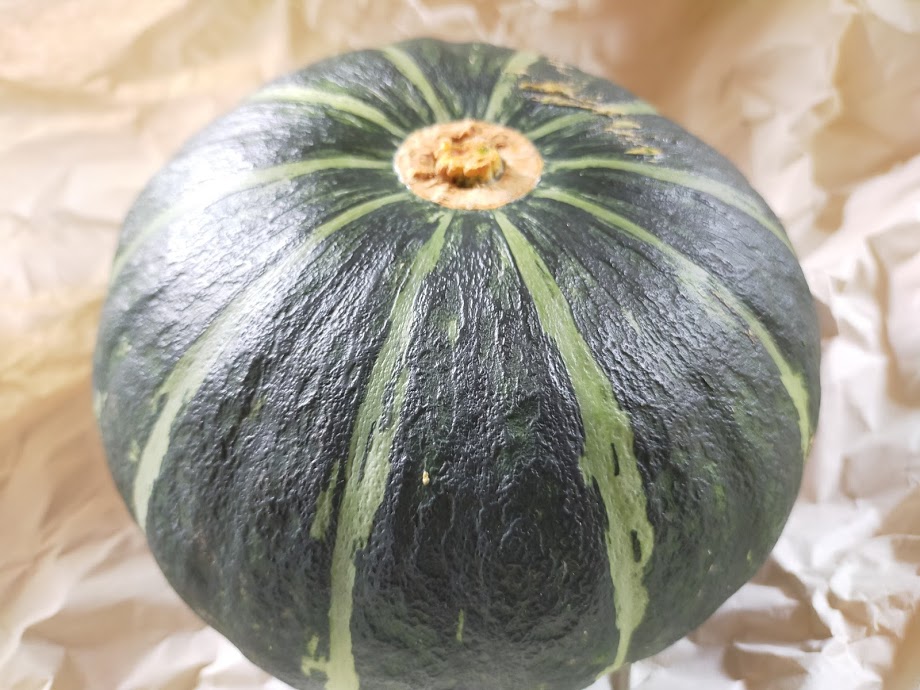
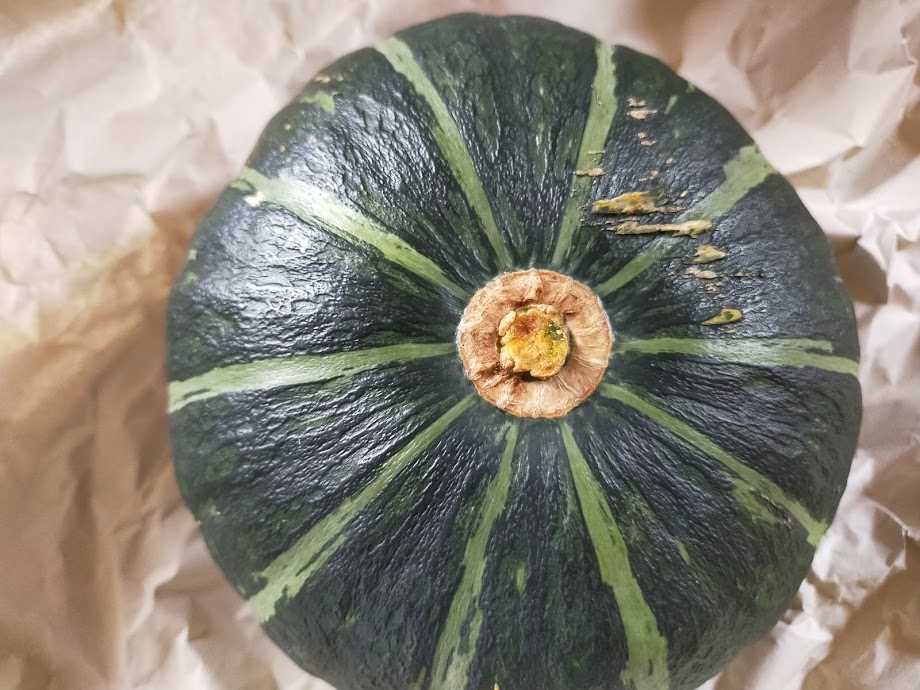
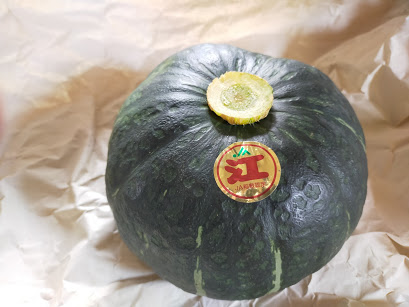
Roughly 3months after seedling, it’s time to harvest.
There were a lot of more things to do during the time, though.
![](https://madam-fujiko.com/wp-content/uploads/2020/07/IMG20200618084851.jpg)
![](https://madam-fujiko.com/wp-content/uploads/2020/07/IMG20200721120528.jpg)
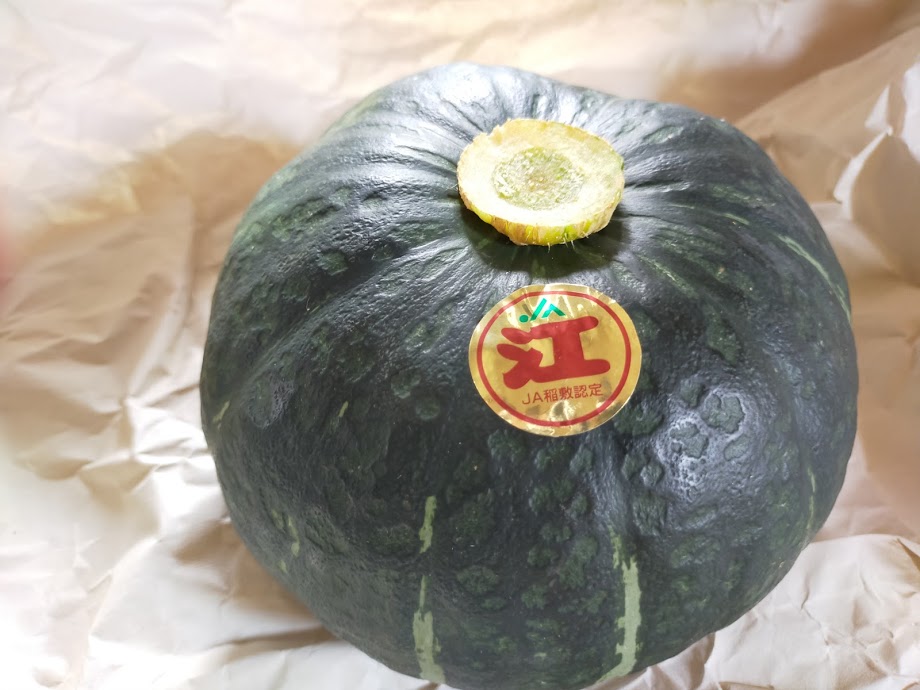
This golden sticker is the mark that this EDOSAKI Kabocha Squash is genuine. There are a lot of similar ones but genuine “EDOSAKI Kabocha Squash” is the only this.
![](https://madam-fujiko.com/wp-content/uploads/2020/07/IMG20200721120359.jpg)
![](https://madam-fujiko.com/wp-content/uploads/2020/07/IMG20200721120407.jpg)