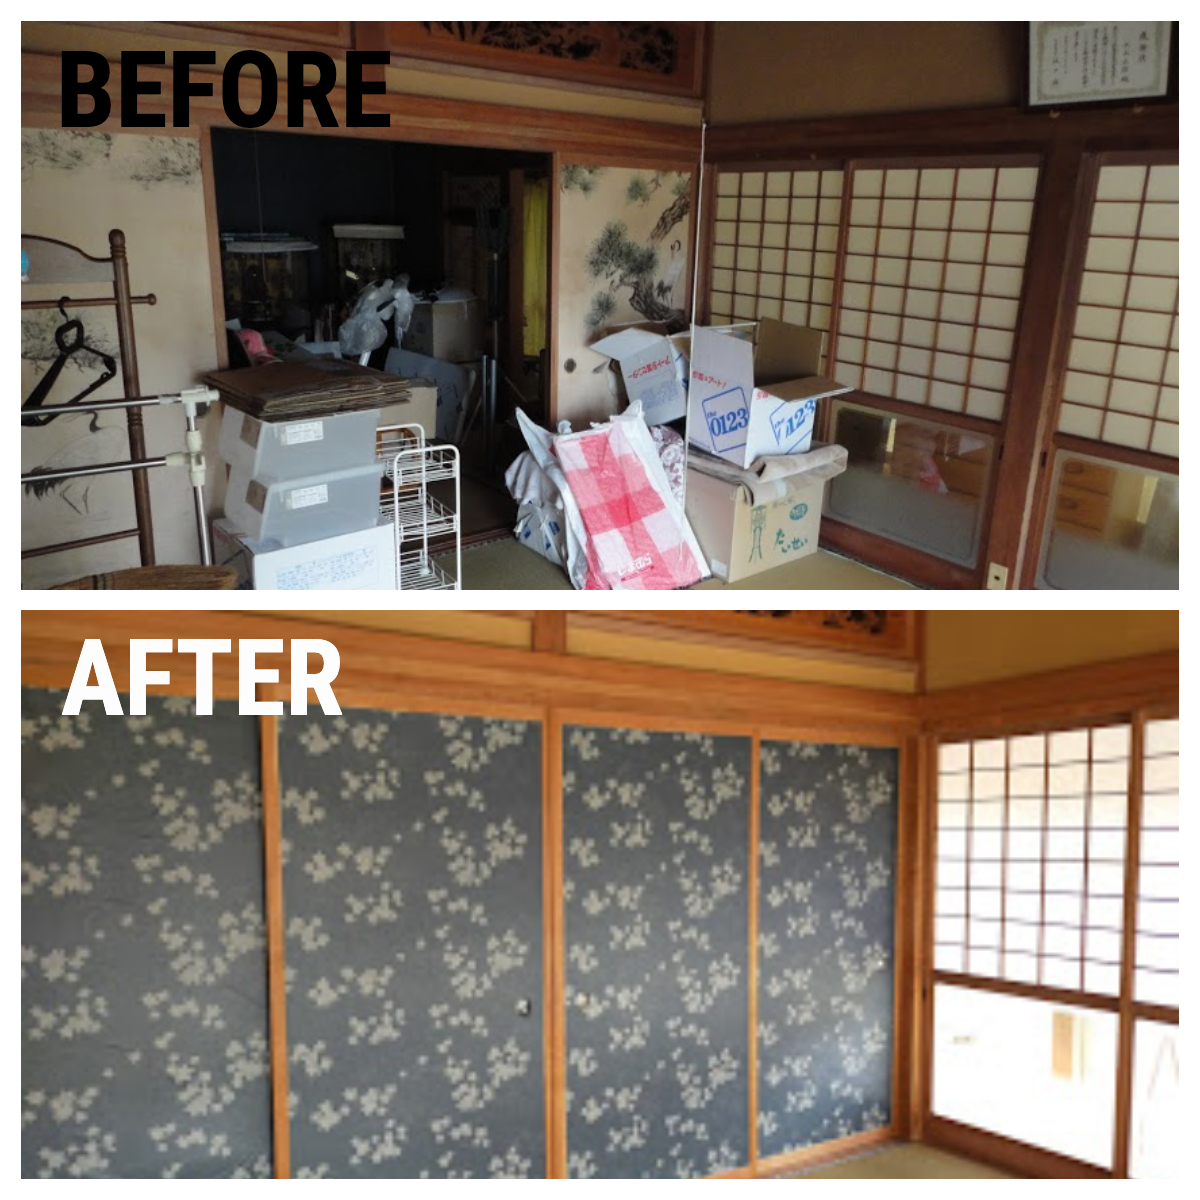
It was really difficult to replace FUSUMA papers. I replaced a lot of FUSUMA, however, the results were not what I expected…
More than 15-FUSUMA, I replaced… I redid some of them because a lot of wrinkles were on the surface.
After replacing so many FUSUMA, I gained some points to make it better. My skills are still good enough, though.
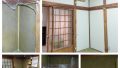
There are two types of FUSUMA bases. One is a latticed wooden frame and the other is a wooden plate.
I felt the wooden plate was easier than the latticed one.
You can see a part of the progress on how to replace FUSUMA in the following ;
How to replace FUSUMA
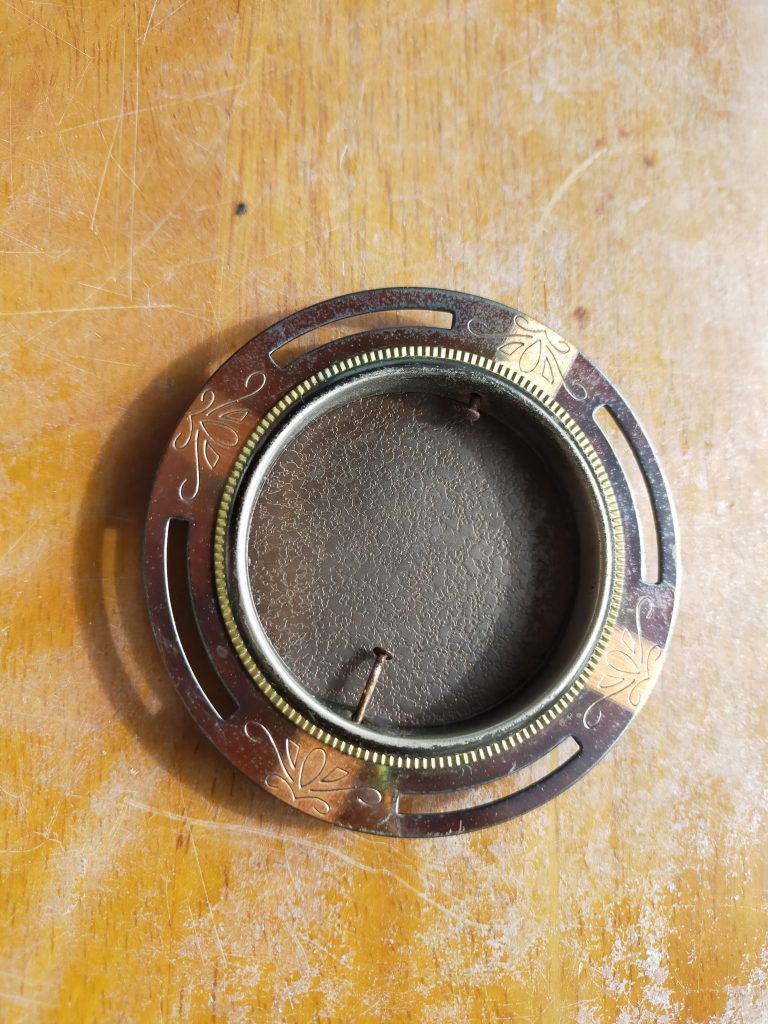
First, take out a catch from the FUSUMA. Putting a crowbar at the edge of the catch and striking it with a hammer lightly.
Then small nails will appear. You can remove them with a plier.
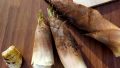
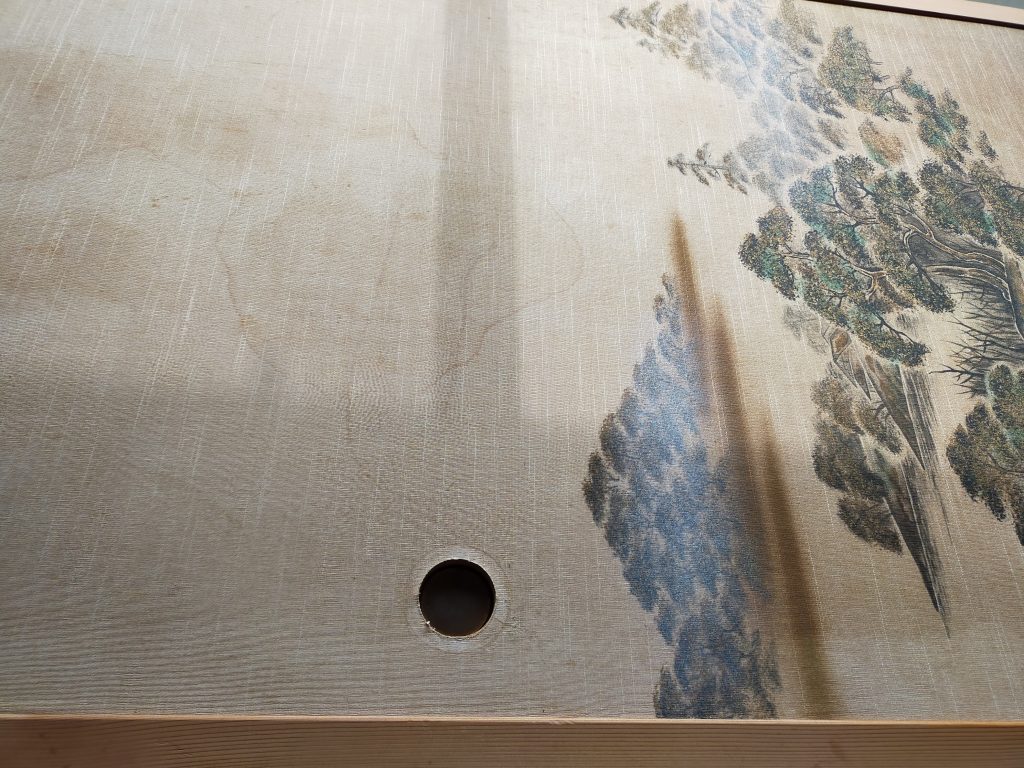
Then, take out the wooden edges. It’s pretty complicated to take it out so I skipped this process mostly.
I could replace the Fusuma papers with the edges.
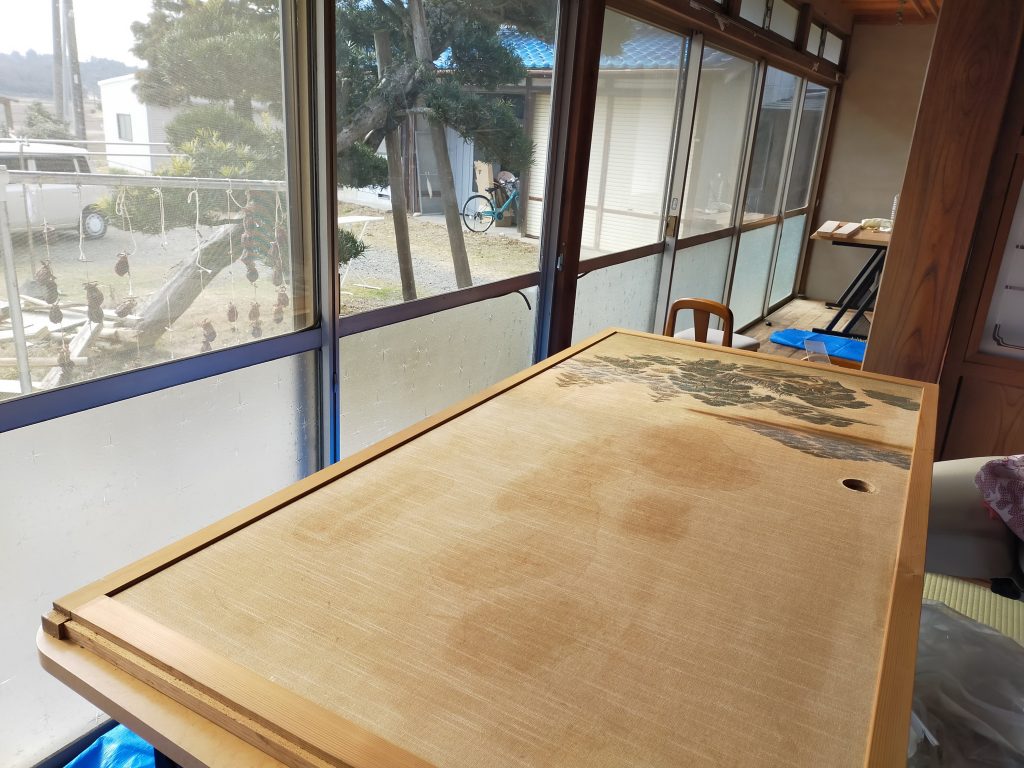
After that, peeling off the old paper.
The surface of the wooden board has to be flat. Otherwise, it’d be hard to make it neat.

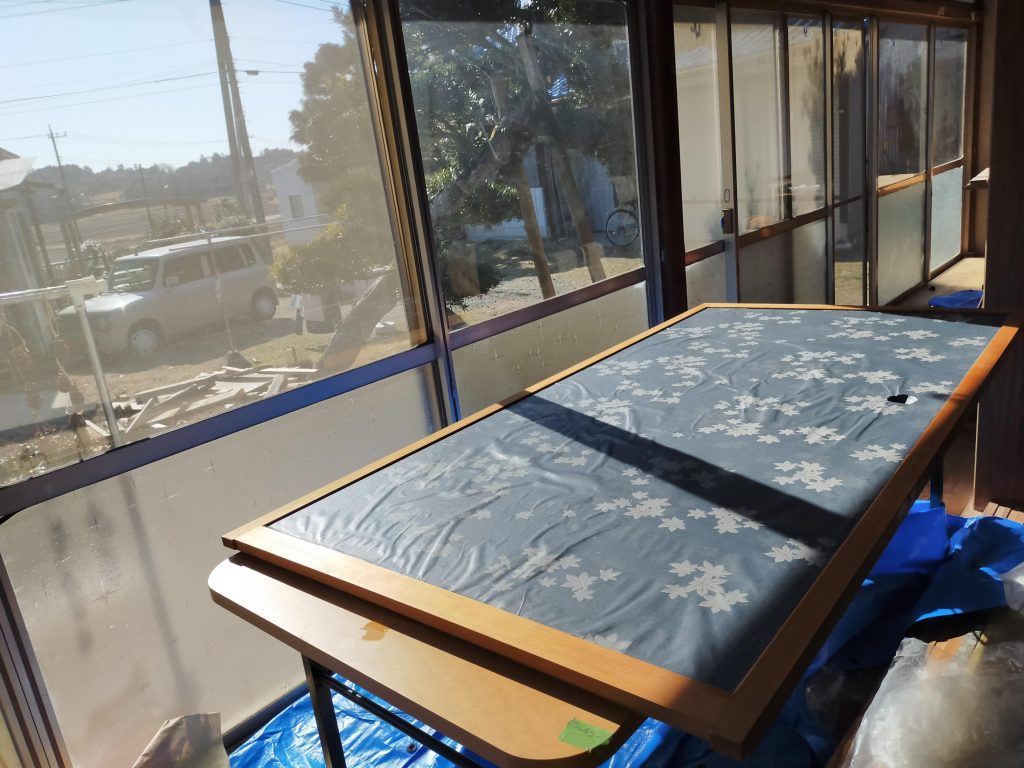
Then, cutting Fusuma papers along the size of the Fusuma board. You need to make sure which side is up or down.
After cutting it, pasting the back of a new Fusuma paper and adding to it.
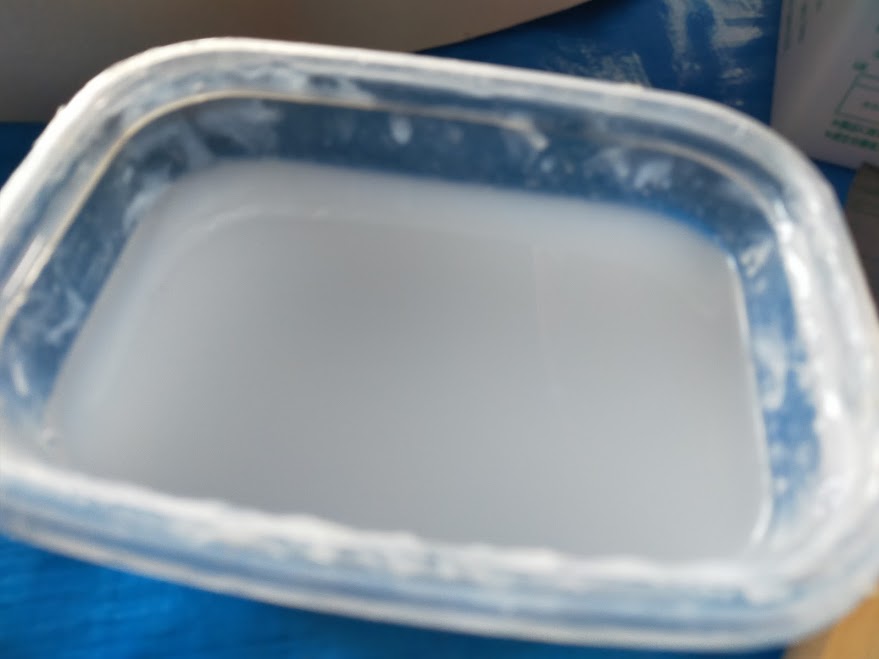
A thickness of the glue for Fusuma papers is really important.
Thin watery glue should be pasted on the whole surface and thick glue should be at the edges.
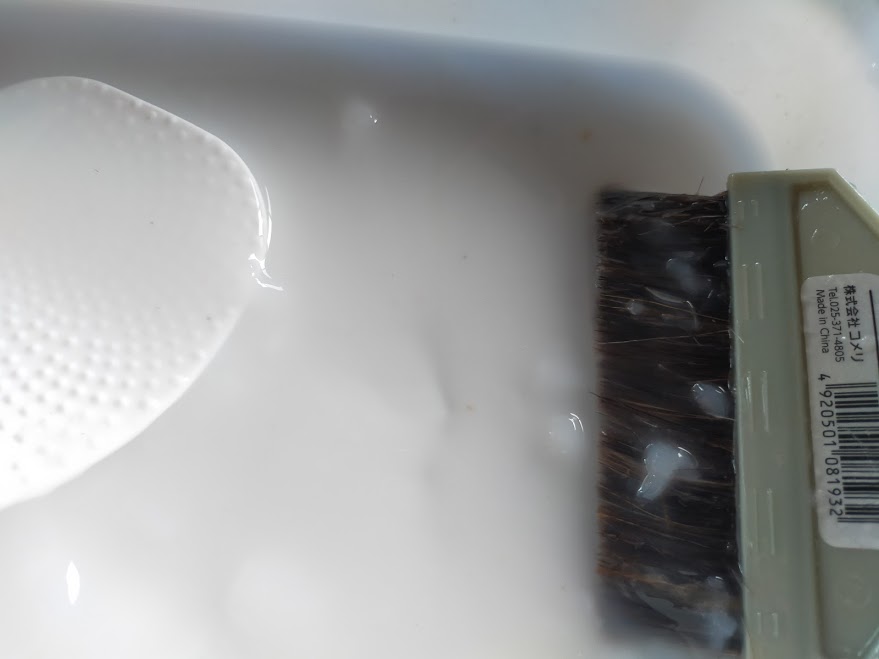
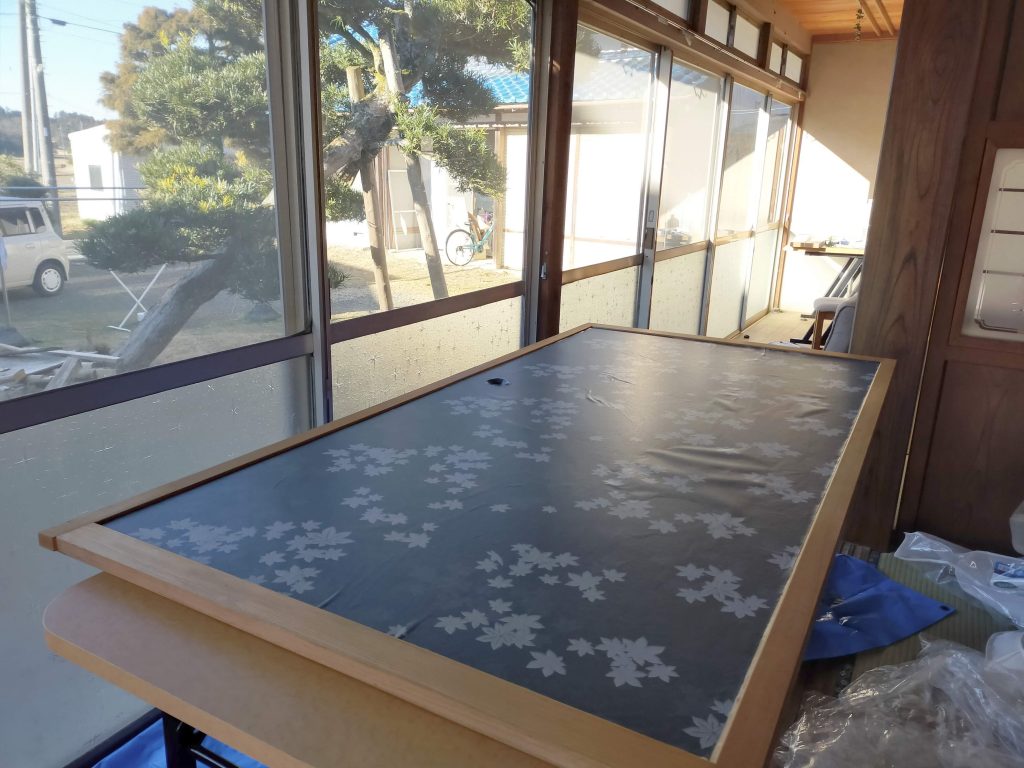
Then removing air with a wide spatula patiently and carefully.
Finally, adding back the catch to the Fusuma board.